First – Time User (Premium Version)
First of all, Thank you for installing our plugin.
Please follow the steps below to setup your support desk.
Step 1 – Installing the Premium Version plugin.
Once you have downloaded Sola Testimonials plugin from wordpress.org, you should be able to upload the zip file to the wp-admin section under Plugins -> Add New -> Upload. Once uploaded, please ensure that you have activated the plugin. Please also ensure that you have both basic and premium versions installed as the premium version is an add-on to the basic version.
Step 2 – Getting to know the Submit A Testimonial page on your website
Once you have installed the premium version, a new webpage is automatically created in your website:
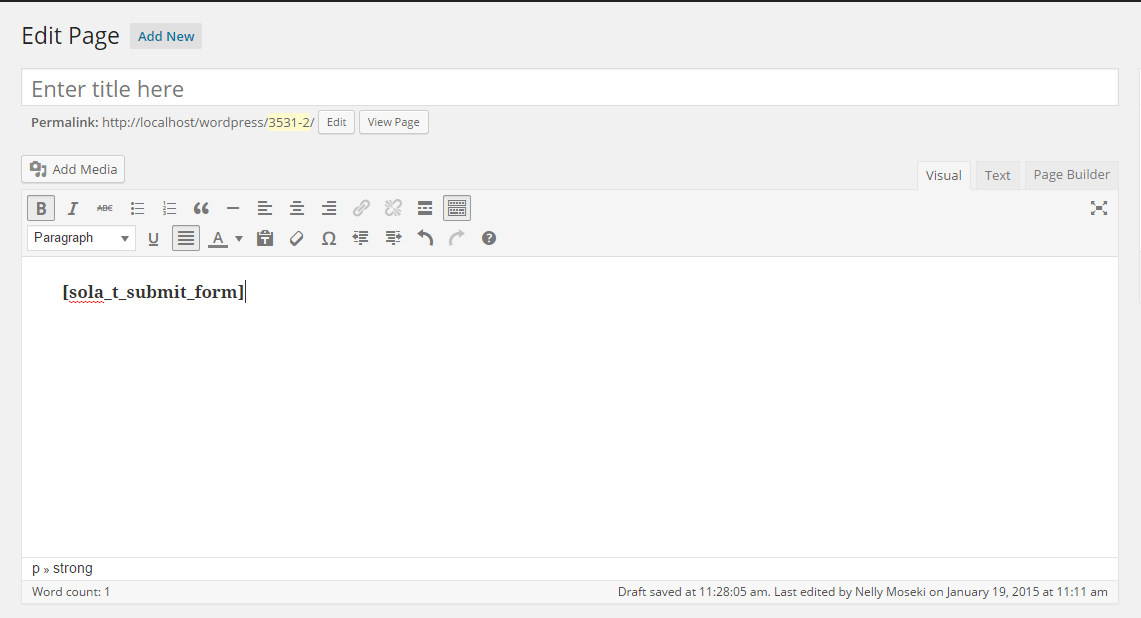
- Locate the page entitled Submit A testimonial and there you will find shortcode automatically generated . This shortcode creates the submit a ticket form on your website.
See below the shortcode automatically created on page load of the Submit A Testimonial page.
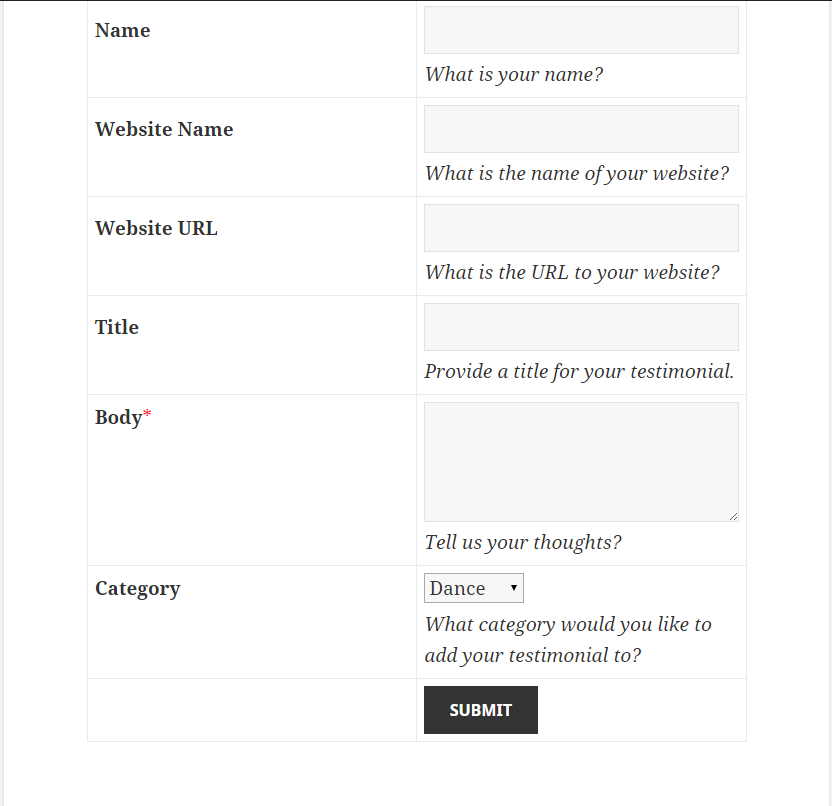
See below the default style of the page automatically created.
To modify or customize the page above, please navigate to Pages on the left navigation and find the relevant page.
Step 3 – Creating your first Testimonial
Navigate to the Testimonials page in the admin menu and select either Testimonials or All Testimonials:
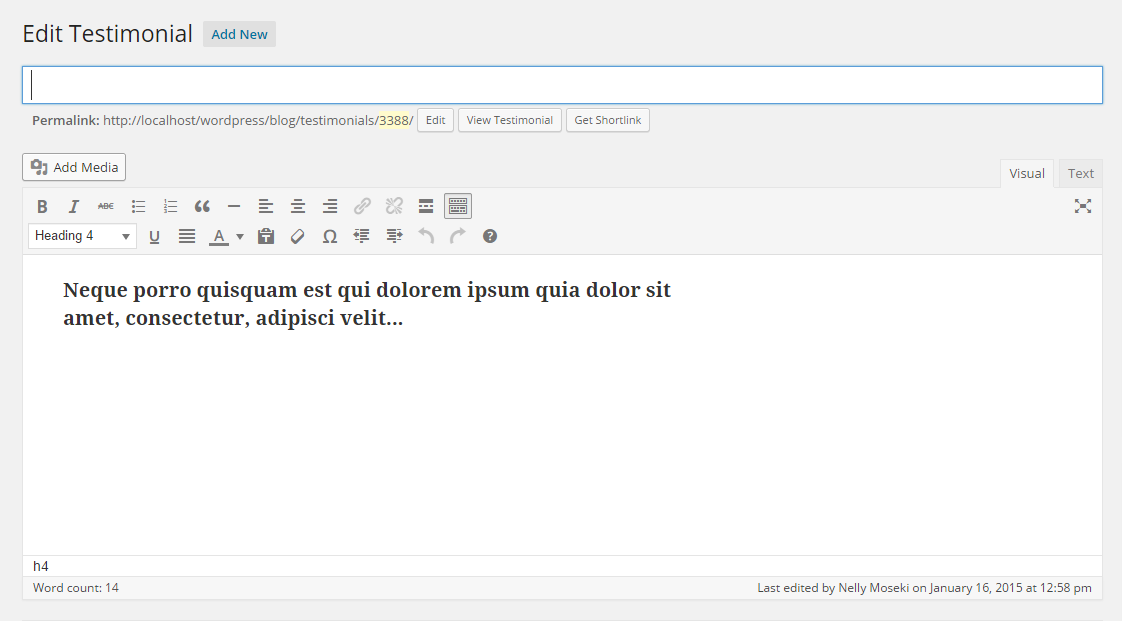
- Click on the “Add Menu” to open the Add New Testimonial page.
- You may type into the editor your own testimonial message.
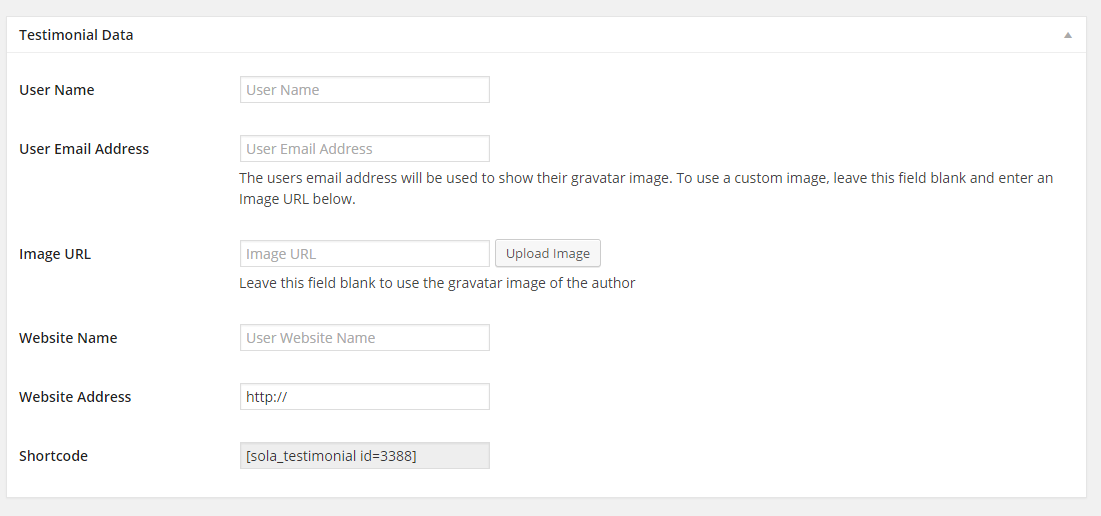
- Below the editor is a metabox labeled Testimonial Data. In this box you may type information such as:
- username.
- user email address.
- image URL (the image which can be uploaded).
- website name.
- website address.
- shortcode (the shortcode for the current testimonial created).
- At the top right of your screen is another metabox labeled Testimonial Status. In this box you may select a testimonial status to be Pending Approval or Approved.
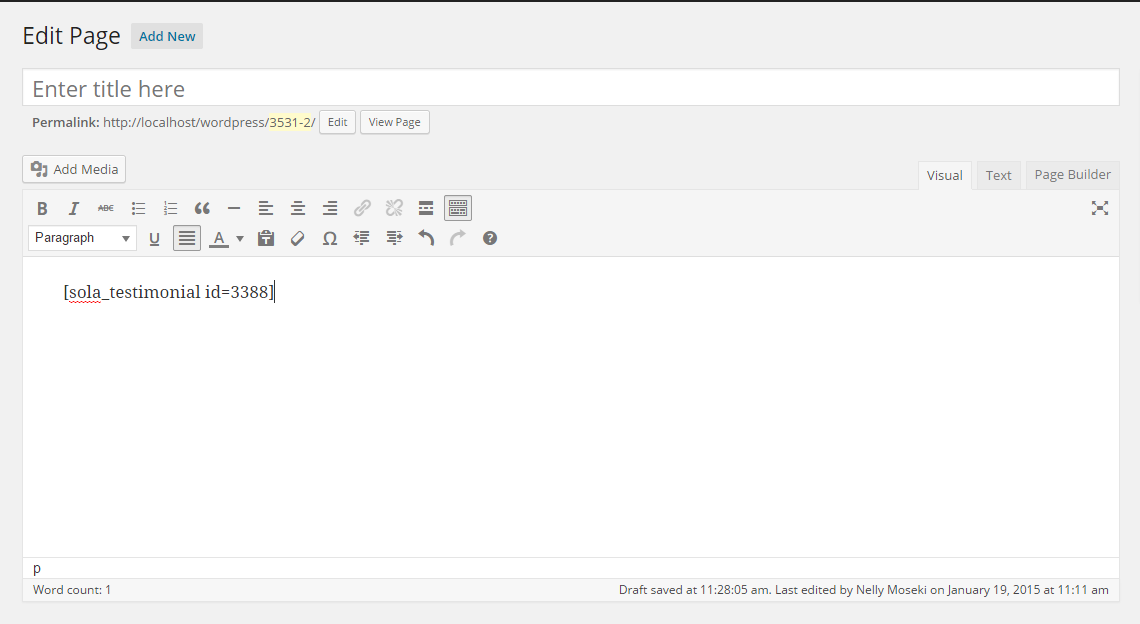
- Located the shortcode to copy and paste it in a newly created page.
- Click Preview Changes button to preview your newly created testimonial.
See below an example illustrating the use of the shortcode.
Step 4 – Getting to know your Settings Page
The Sola Testimonial Settings page comprises of six tabs namely:
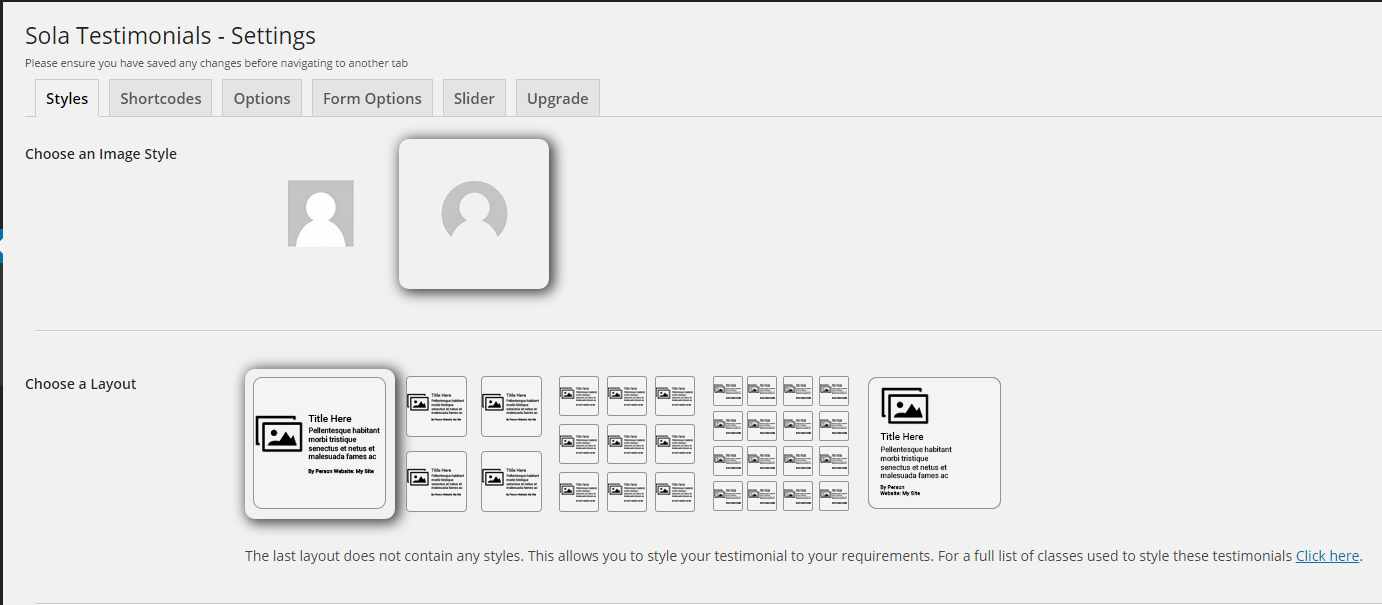
- Styles Tab (choose an image style, layout, theme and customise your testimonials)
- The Image style section allows you select between the two options – the default, which is displays a squared image or the second one which displays a rounded image.
- The Layout section provides a selection of five options – the default, which displays one column,the second option that displays two columns, the third option that displays three columns and the fourth option that displays four columns.
- The last option in the Layout section does not contain any styles, it allows you to to style your own testimonials to your preference.
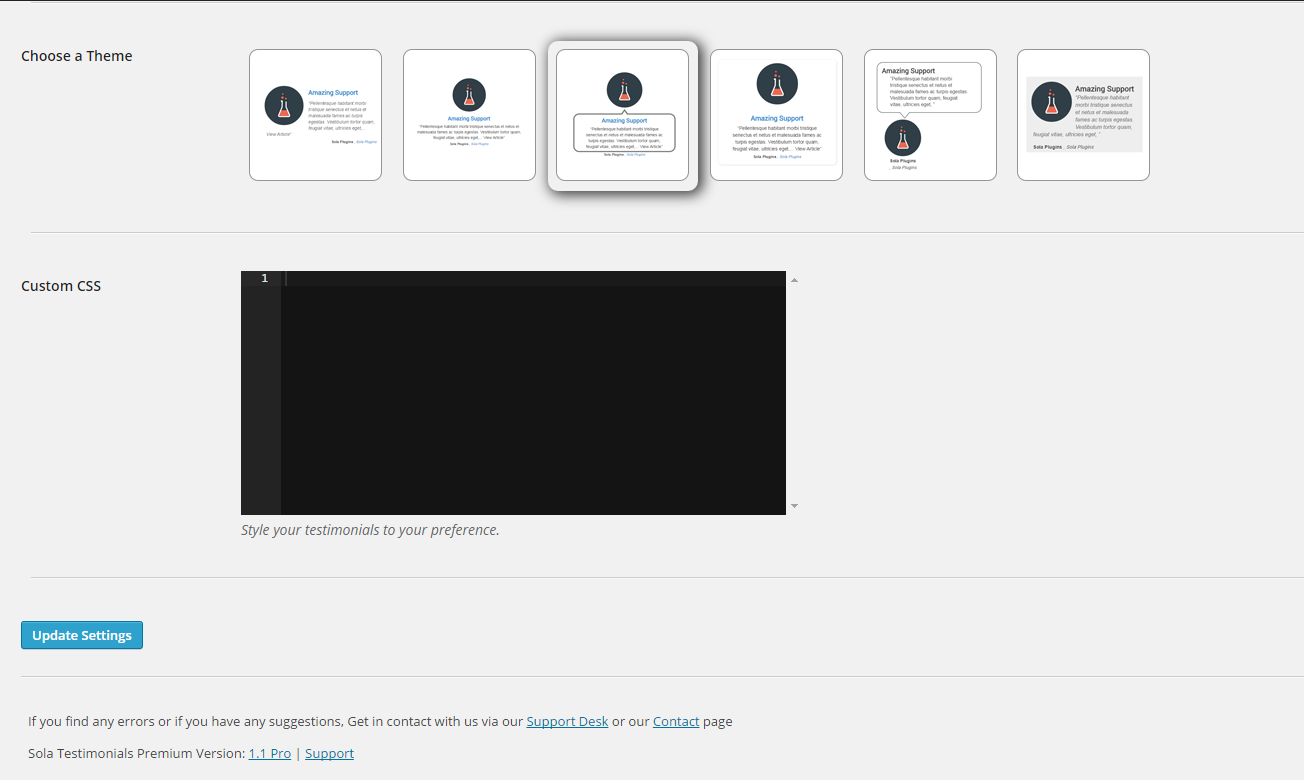
- The Choose a theme section contains six themes.The first two are available in basic version and ALL six are available in the premium version.
- The Custom CSS section provides a platform to style your own testimonials using CSS.
See below an illustration of the above.
NB! Please ensure you have saved any changes before navigating to another tab.
2. Shortcodes Tab (contains all the shortcodes you will need in the plugin.)
See below the shortcodes available in the Sola Testimonial Premium Version plugin
[sola _ t _ submit_form]
Allow your visitors to submit a testimonial on your website.
[sola _testimonial id=1]
Show off a single testimonial. Use the ID of the testimonial.
[sola _ t _ all _ testimonials]
Show off your raving reviews all on one page
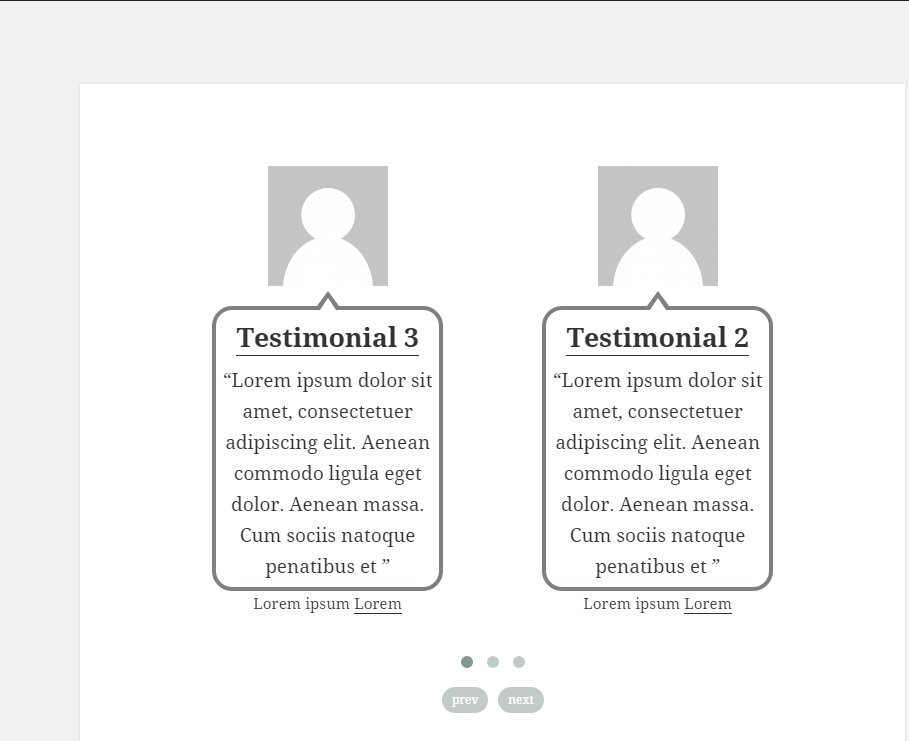
[sola _ t _ slider]
Show off your raving testimonials in a slider.
[sola _ t _ slider catid=1]
Display and group your testimonials.
[sola _ t _ all _ testimonials cat_id=1]
Display and group your testimonials.
3. Options Tab (the below options will only affect testimonials using the single or grid layouts.)
- Allows you to show the testimonial title or not.
- Allows you to show testimonial body or not.
- Allows you to specify the excerpt length.
- Allows you to set the default image size.
- Allows you to customize your read more link.
- Allows you to show the users name or not.
- Allows you to show the link to the users website or not.
- Allows you to show testimonial image or not.
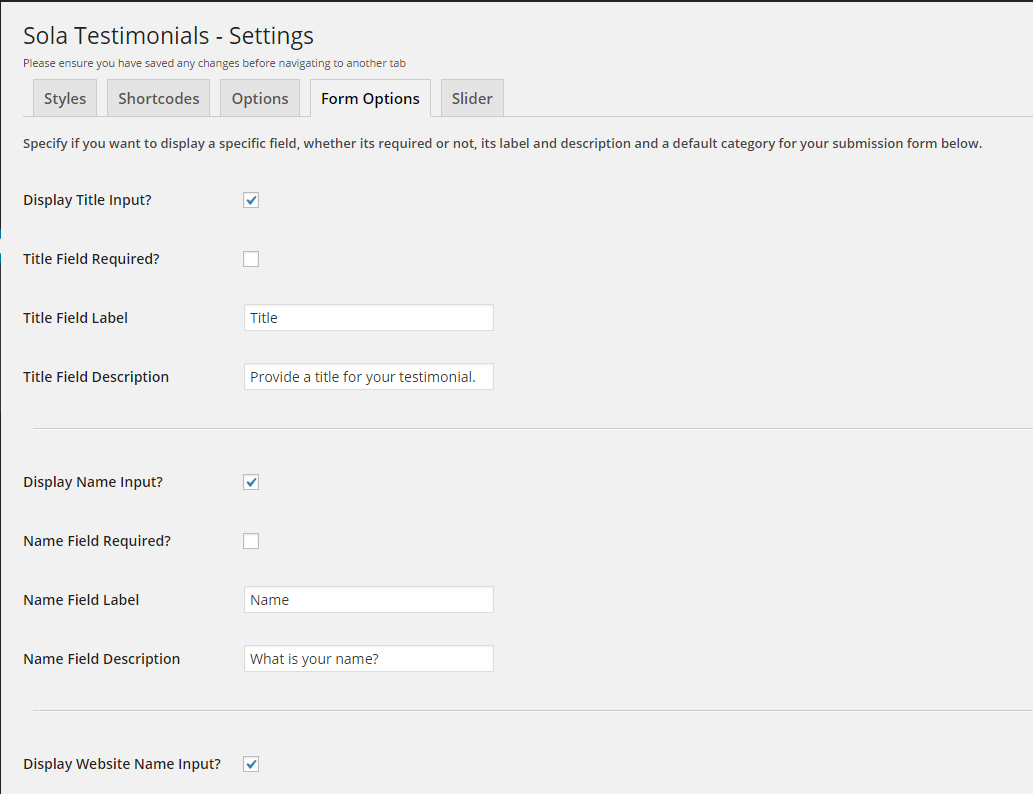
4. Form Options Tab(allows you to create a comprehensive form on your website).
There is all sorts of things you can achieve here:
5. Slider Tab (contains options that enable customization of a slider )
- Enables you display sliders by using the shortcode – [sola _ t _ slider] to display testimonials in a slider.
- Enables you to create testimonials based on categories using the shortcode – [sola _ t_ slider cat_id=1].
- Enables you to customise a slider to show images, titles, excerpts, usernames and website names.
- Enables you to specify the following:
- Slider Navigation
- Slider Pagination
- Number of testimonials per slide.
- And Finally,it enables you to modify the CSS to style of your own testimonial slider.
See below an illustration of the use of the slider.