Step 3 – Creating your first Testimonial
Navigate to the�Testimonials�page in the admin menu and select either�Testimonials�or�All Testimonials:
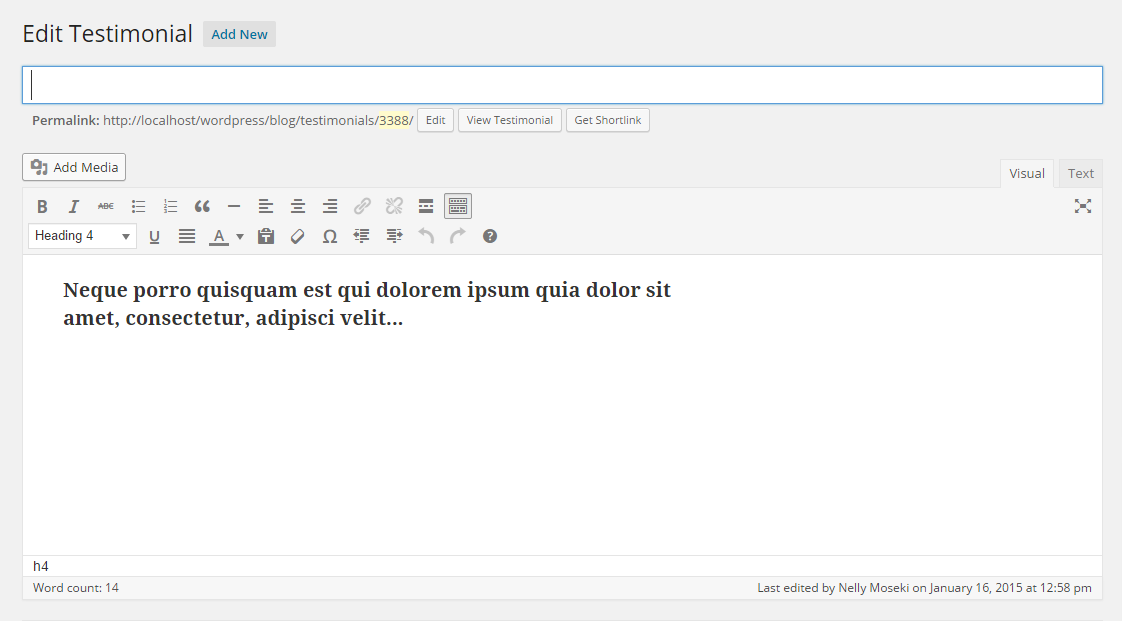
- Click on the �Add Menu� to open the�Add New Testimonial�page.
- You may type into the editor your own testimonial message.
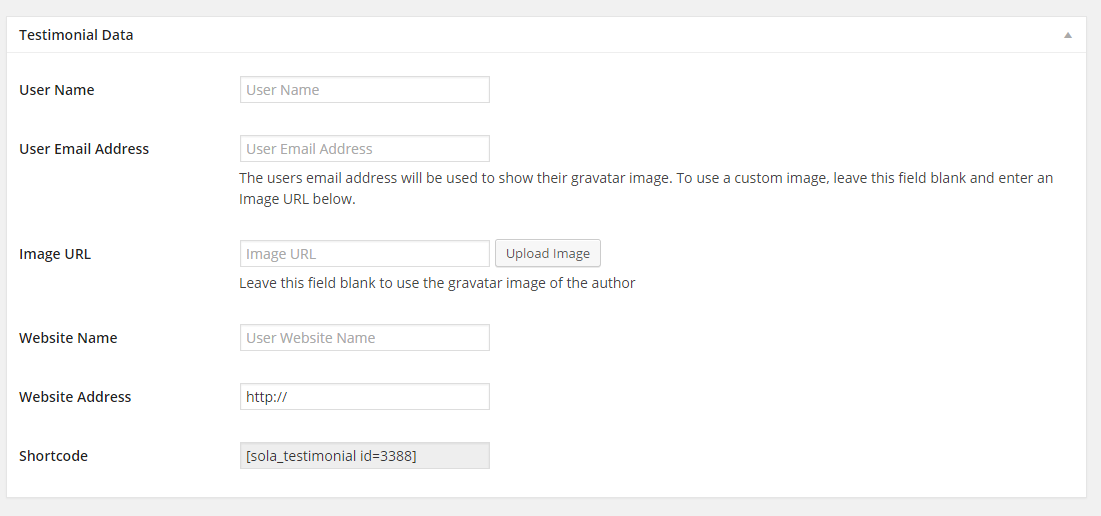
- Below the editor is a metabox labeled�Testimonial Data. In this box you may type information such as:
- username
- user email address
- image URL (the image which can be uploaded)
- website name
- website address
- shortcode (the shortcode for the current testimonial created)
- At the top right of your screen is another metabox labeled�Testimonial Status. In this box you may select a testimonial status to be�Pending Approval or�Approved.
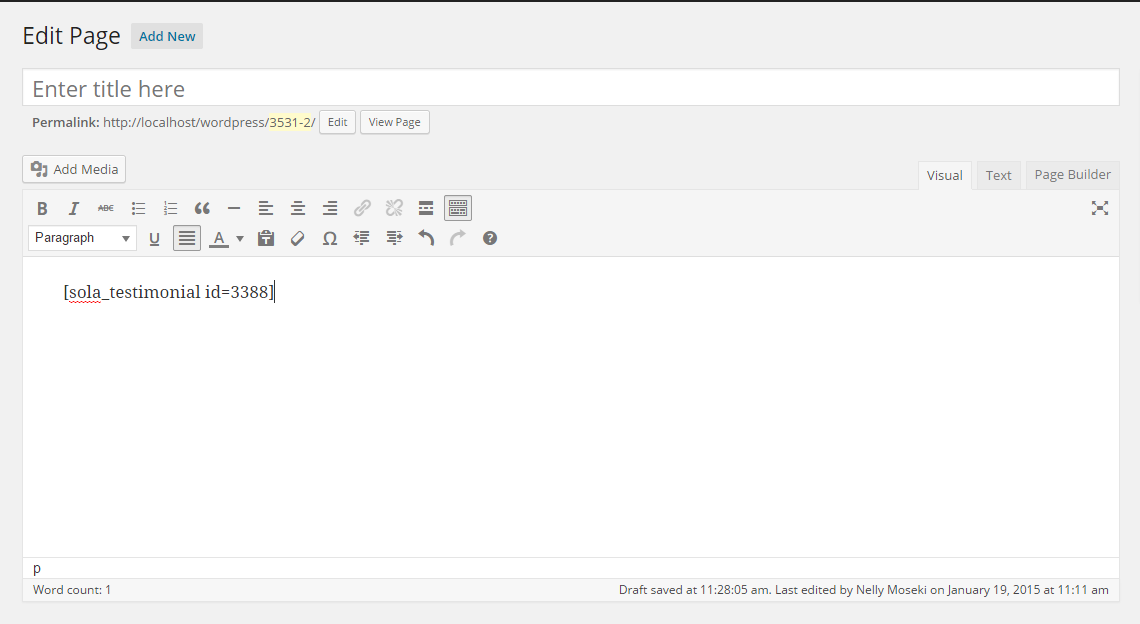
- Located the shortcode to copy and paste it in a newly created page.
- Click�Preview Changes�button to preview your newly created testimonial.
See below an example illustrating the use of the shortcode.